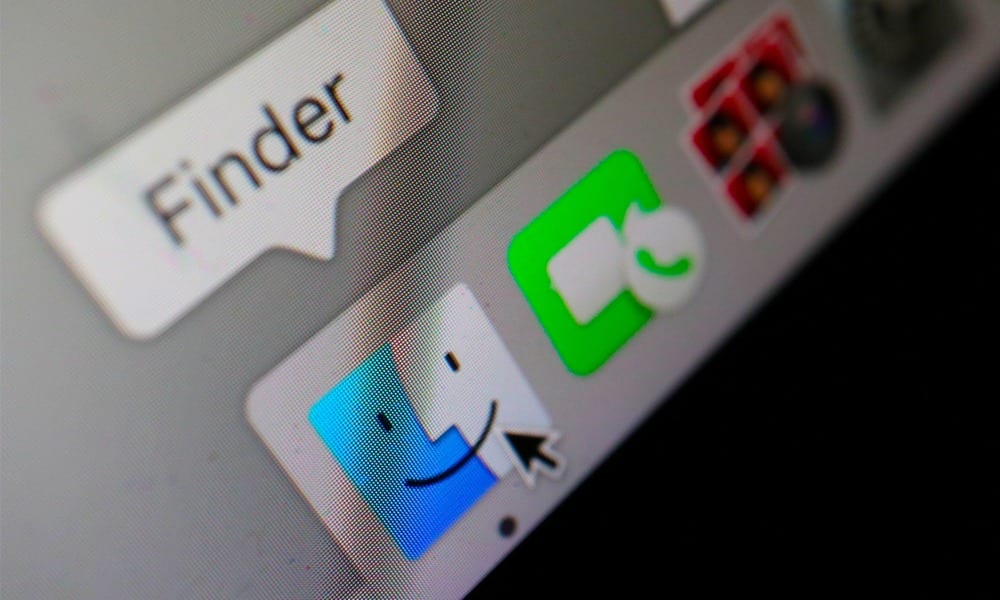
The Dock is a small panel that lets you access your files, folders, and most recently used apps on your Mac quickly. But if you don’t like you Dock the way it is, there are things you can do to change it. Here’s how to customize the Dock on a Mac to add and remove apps and folders, hide the Dock, resize it, and move the Dock to another part of your screen.
How to Customize the Dock on a Mac
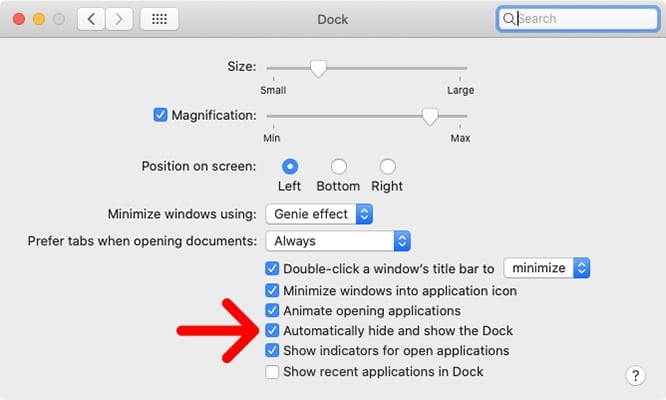
To customize your Dock on a Mac, go to System Preferences > Dock. You can change the size, magnification, position, and more. You can add or remove apps and folders by dragging them to and from the Dock.
Your Mac’s Dock is typically found at the bottom of your screen, but you can move it to the right or left side of your screen, too. You can also auto-hide your Dock, adjust its size, and change how items appear in the Dock, too, among many other things.
Here are some things you can do to make your Dock look more personal.
How to Hide the Dock on a Mac
To automatically hide the Dock on your Mac, click the Apple icon in the top-left corner of your screen and select System Preferences. Then click Dock and check the box next to Automatically hide and show the Dock.


You can also right-click on the Dock, and select Turn Hiding On or Turn Hiding Off.
Doing this will cause the Dock to disappear from your screen when it is not in use. This will also let you reclaim more screen space on your Mac, and make your desktop look cleaner.
To view the Dock again, you can move your cursor to the edge of the screen where your Dock is located. The Dock will pop up after you move your mouse all the way to the edge.
How to Move the Dock on a Mac
You can change the Dock’s position on your screen by going to System Preferences > Dock and selecting an option under Position on Screen. Then select Right, Left, or Bottom, depending on where you want to move your Dock.
You can also right-click on the Dock and hover your mouse over Position on Screen. Then select either Left, Right, or Bottom.
Moving the Dock to either side of your screen gives you more vertical space. It will also mean that you won’t trigger your Dock as much when you move your mouse to the bottom of your screen.
How to Remove Apps from the Dock on a Mac
To remove an app, file, or folder from your Dock, drag the icon of the item out of the Dock until you see Remove. You can also right-click (or Control-click) an app and hover your mouse over Options. Then select Remove from Dock.
By removing apps and files you seldom or rarely use, you can free up space on your Dock for ones you use more frequently. Only the shortcut will be removed from the Dock. The actual app, file, or folder can still be found in your Applications folder.
But what if you accidentally remove an app from the Dock? You can put it back by opening the app. This will show the app’s icon in the Dock. Right-click this icon, select Options and click Keep in Dock.
How to Add Apps, Files, and Folders to the Dock on a Mac
To add an app to your Dock on Mac, launch a Finder window from your Dock and click Applications in the left sidebar. Then, select an app and drag and drop this app above or to the left side of the line that separates your Dock.
If you want to add a folder or file to the Dock, launch the Finder window, select a file or folder, then drag and drop it below or to the right side of the line that separates your Dock.
How to Make Your Mac Dock Smaller or Larger
You can adjust the size of the Dock by placing the cursor over the line that separates the Dock until a double arrow shows up. Then, drag the Dock to make it the size that you want. You can also change the size in System Preferences > Dock with the slider next to Size.
Now that you know how to customize the Dock on your Mac, check out our list of the most useful Mac keyboard shortcuts.


