If you have an Amazon Echo device and a computer, you can make things a lot easier for you by connecting them. Connecting your Alexa device to your computer makes it easy to add music, video, and audiobooks to your device. You can also create shopping lists and to-do lists, set up reminders and alarms, and add Alexa skills with ease. Here’s how to connect your Alexa device to a Mac or Windows 10 computer:
How to Connect Alexa to a Windows 10 or Mac Computer
To connect Alexa to your computer, go to alexa.amazon.com and sign in with your Amazon account or create a new one. Then go to the website and click Settings > Set up a new device and follow the on-screen instructions.
- Open a web browser on your computer and go to alexa.amazon.com.
- Sign in to your Amazon account or create a new one. If you’re an existing Amazon user, you can sign in with your email address and password and click Sign-in. Otherwise, click on Create a new Amazon account. On the next page, type in your name and email address and create a password. Next, click on Create your Amazon account.
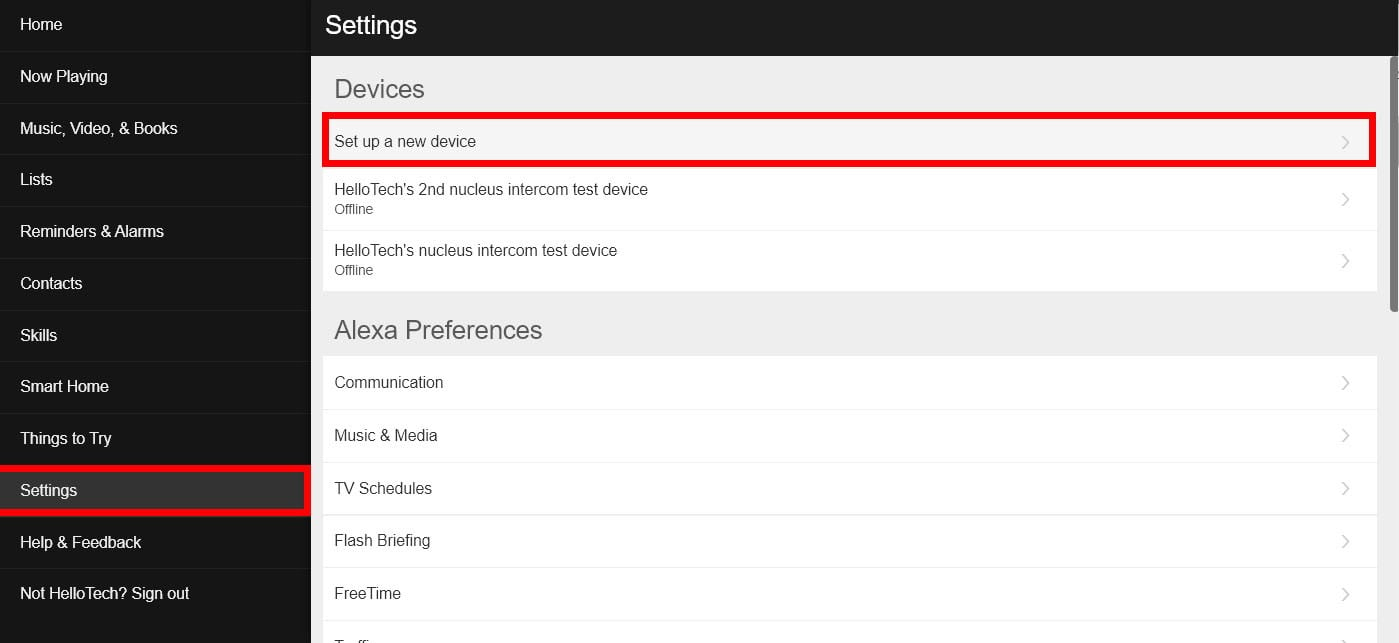
- Next, click Settings. You will find the Settings button in the left sidebar.
- Then click Set up a new device. From the Settings menu page, you will find this as the very first option under the Devices panel.
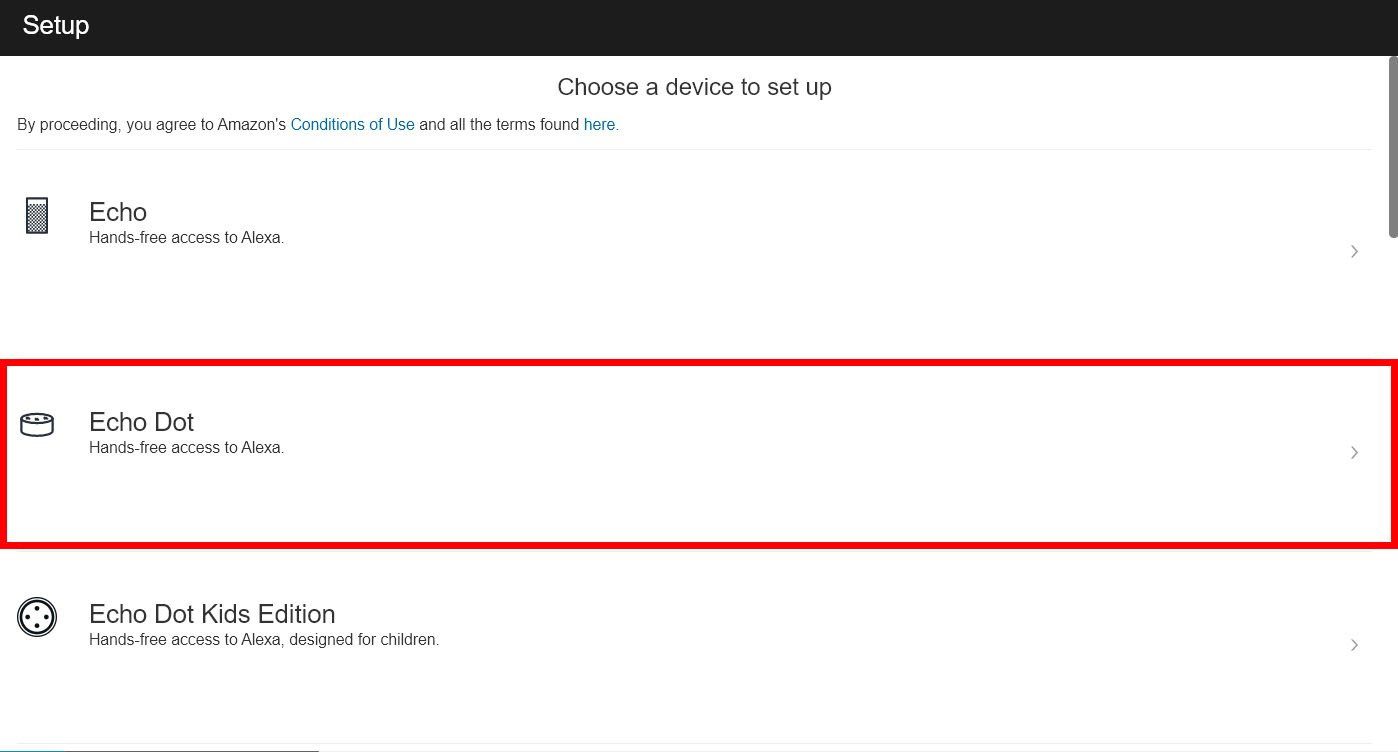
- Choose a device to set up. Click on your device name from the list of Amazon devices. You might have to scroll down if you don’t see your device name up top.
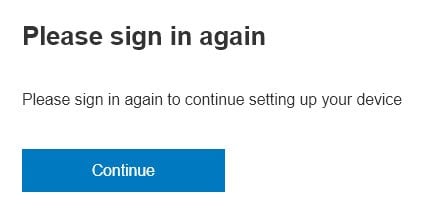
- Then click Continue to sign in again. There will be a prompt telling you that you need to sign in again to continue setting up your device. Click Continue.
- Enter your username and password and click Log-in. You will be taken to another Amazon Alexa login page. Provide your password and click on the blue Login button.
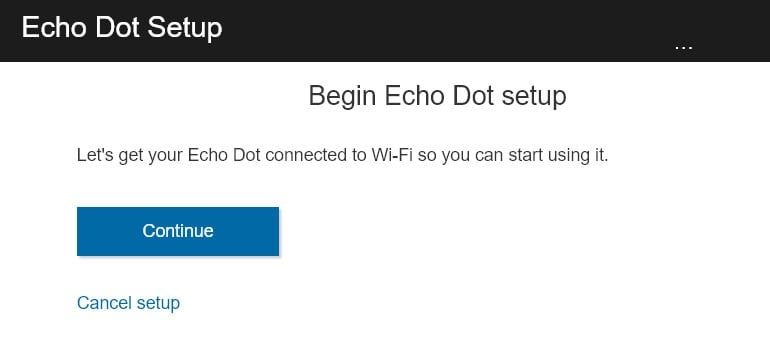
- Then click Continue.
- Press the button with the dot on your Alexa device until you see an orange light. You will get on-screen instructions on the webpage, asking you to plug your Amazon device into an electrical socket. Once your device is plugged in, press the button with the dot for six to 10 seconds until you see an orange light. Alexa will then say, “Now in setup mode. Follow the instructions in your Alexa app.”
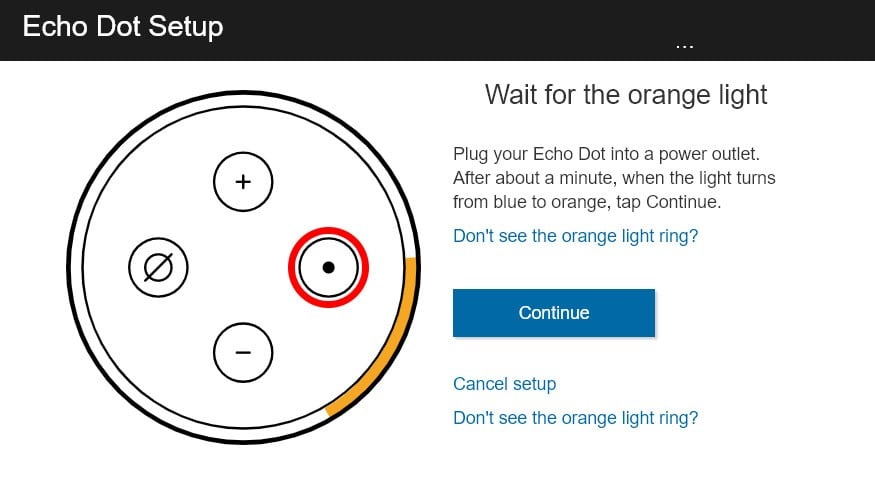
- Then click Continue on your computer.
- Connect your Alexa device to your computer’s WiFi network. If you’re using a Windows 10 computer, you can access your WiFi network by clicking on the network icon in the bottom-right corner of your screen. Then select the WiFi network with the format Amazon-XXX, where the Xs are a combination of numbers and letters. If you don’t see this network right away, wait a minute for it to pop up.
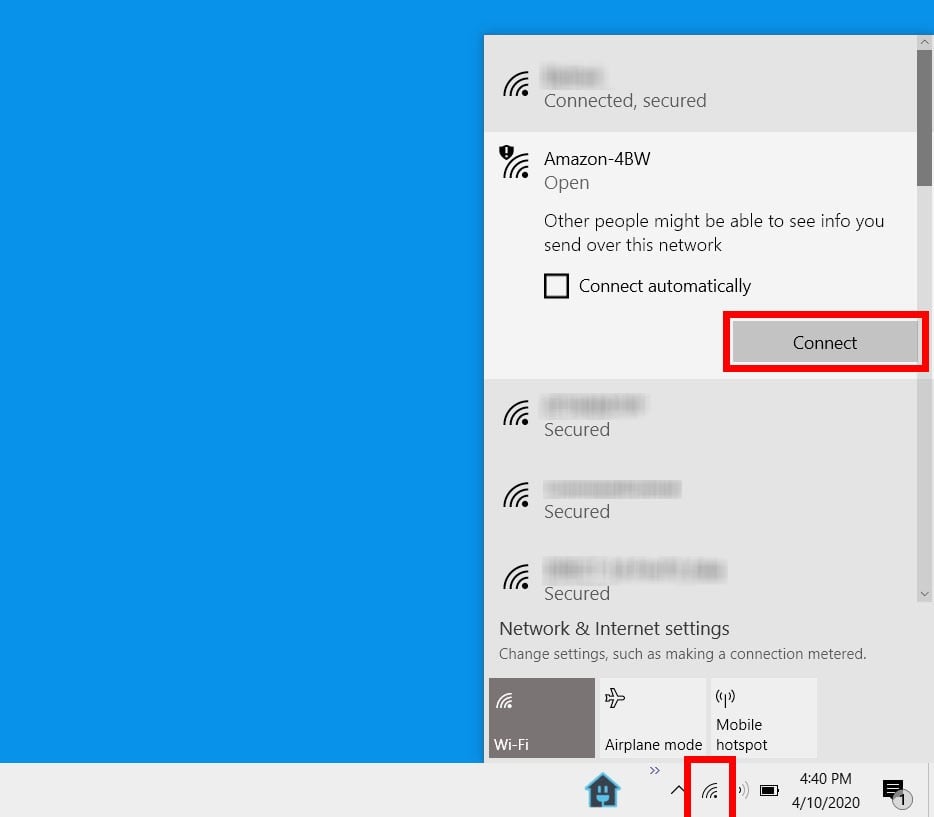
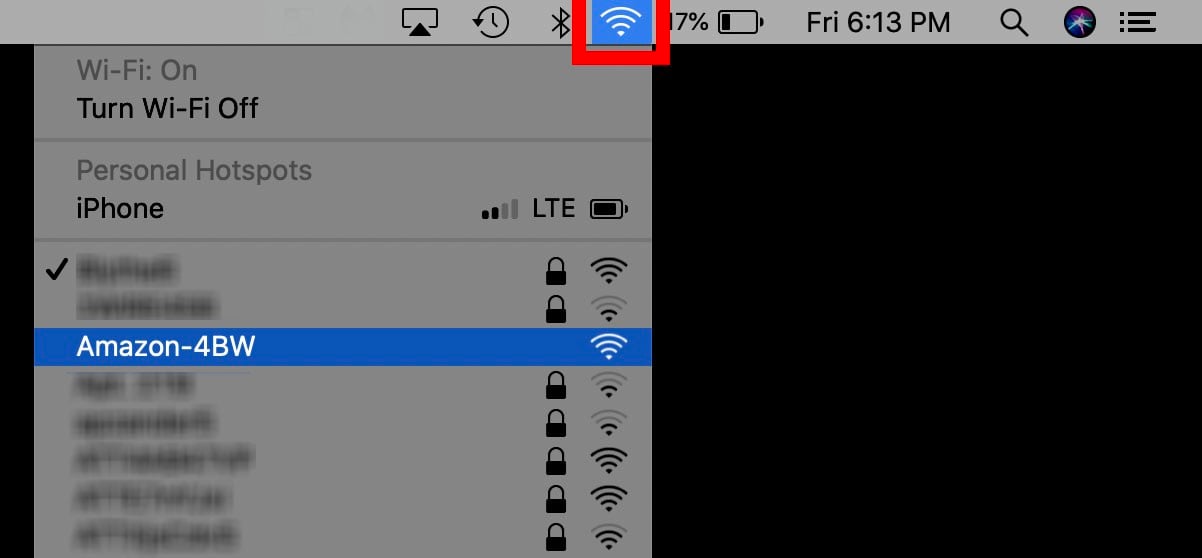
- Then click Continue to finish the set up on your computer. Alexa will say, “You’ve connected. Now, go back to the Alexa app.” On your browser, you will see a message telling you to continue the setup for your specific device. Click the blue Continue button.
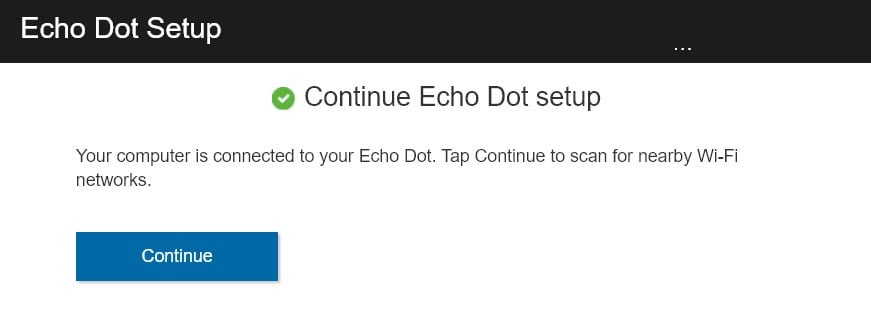
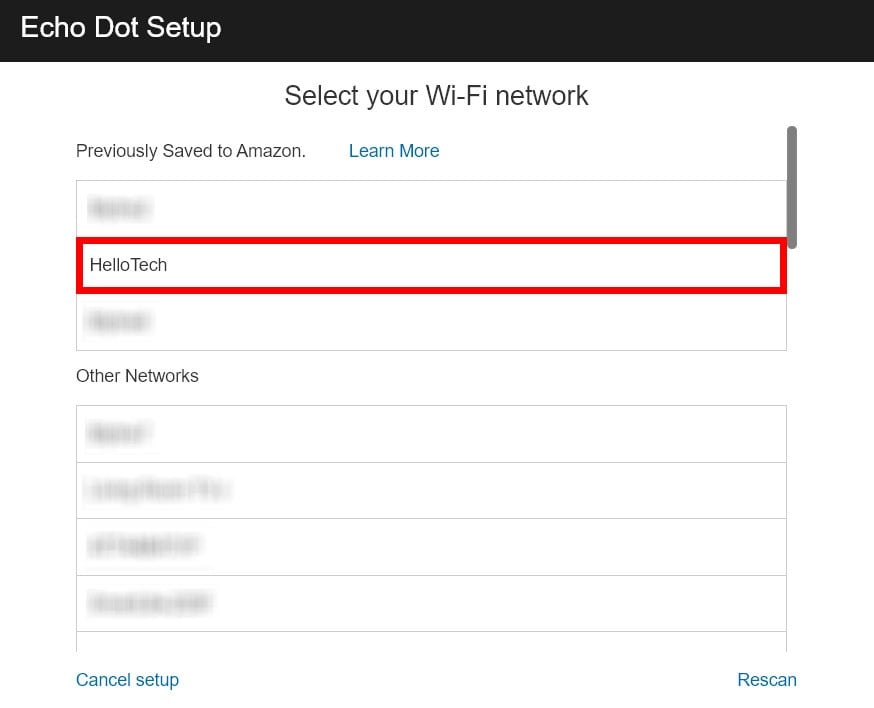
- Select your WiFi network on the next webpage. Click on the network you would like to use for connecting to your device.
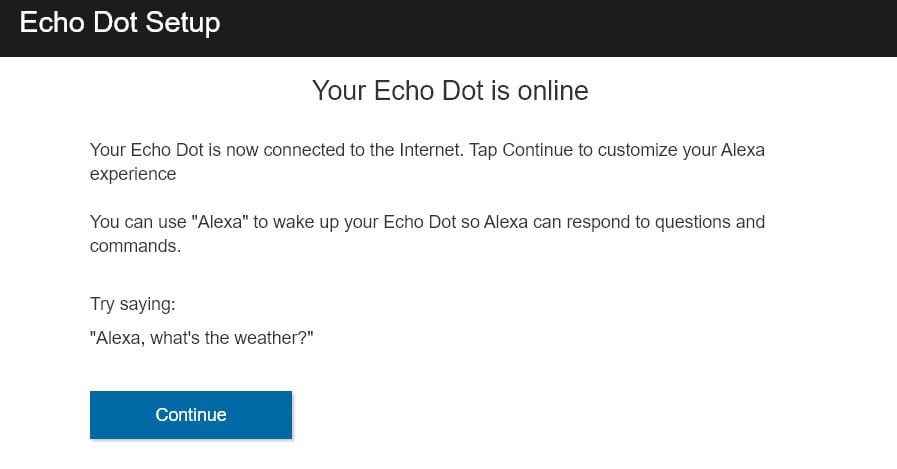
- Finally, wait for Alexa to come online. The website will display a screen that says it is preparing your Amazon device. You will see a progress bar as Alexa connects your device to the internet. This could take several minutes. Once the setup is complete, Alexa will say, “This device is ready,” and the orange light will also disappear. An on-screen message on your browser will also tell you that your device is online.
If you want to know all the cool things Alexa can do, check out our article here.
HelloTech editors choose the products and services we write about. When you buy through our links, we may earn a commission.

