Whether you want to record a video you found online or you need to show someone a problem that keeps happening on your computer, it’s important to know how to record your screen. Thankfully, Windows 11 has 2 built-in features that make it easy. Here’s everything you need to know about how to record your screen on a Windows 11 PC using the Snipping Tool, Xbox Game Bar, or third-party apps.
Read More: How to update Windows 11
How to Screen Record with Windows 11 Snipping Tool
To record your screen on a Windows 11 PC, click the Windows logo at the bottom of your screen, type “Snipping Tool” into the search bar, and click Open. Then, click the Record button in the Snipping Tool window and select New. Finally, drag a box around the area you want to record, and click Start in the top toolbar.
- Click the Windows logo at the bottom of your screen. This will open the Start Menu.
- Then, type “Snipping Tool” into the search bar. You will see the search bar at the top of the Start Menu, but you can start typing right after you click the Windows logo.
- Next, click Open. This will open a Snipping Tool window.

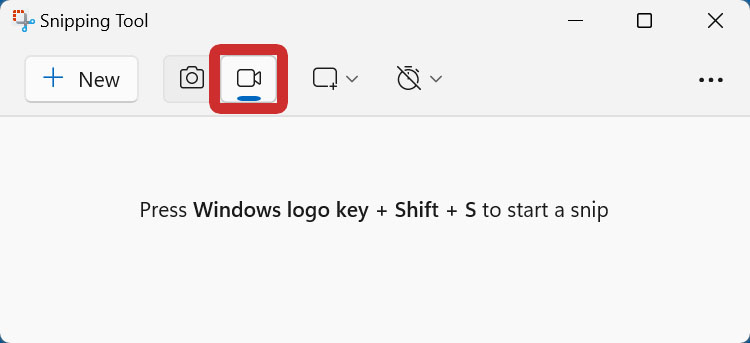
- Then, click the Record button. This is the button that looks like a video camera at the top of the Snipping Tool window.
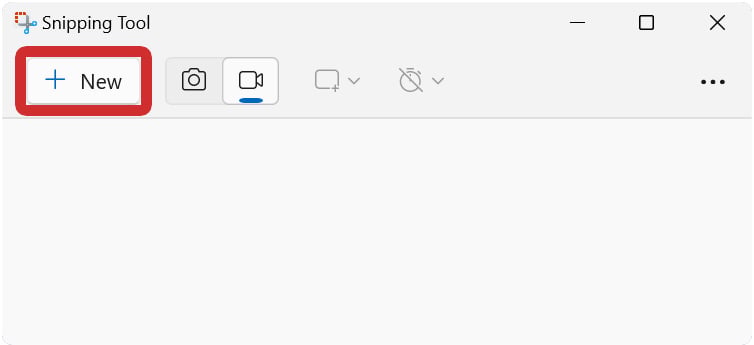
- Next, click New. This will close the Snipping Tool window and a small toolbar will appear at the top of your screen.
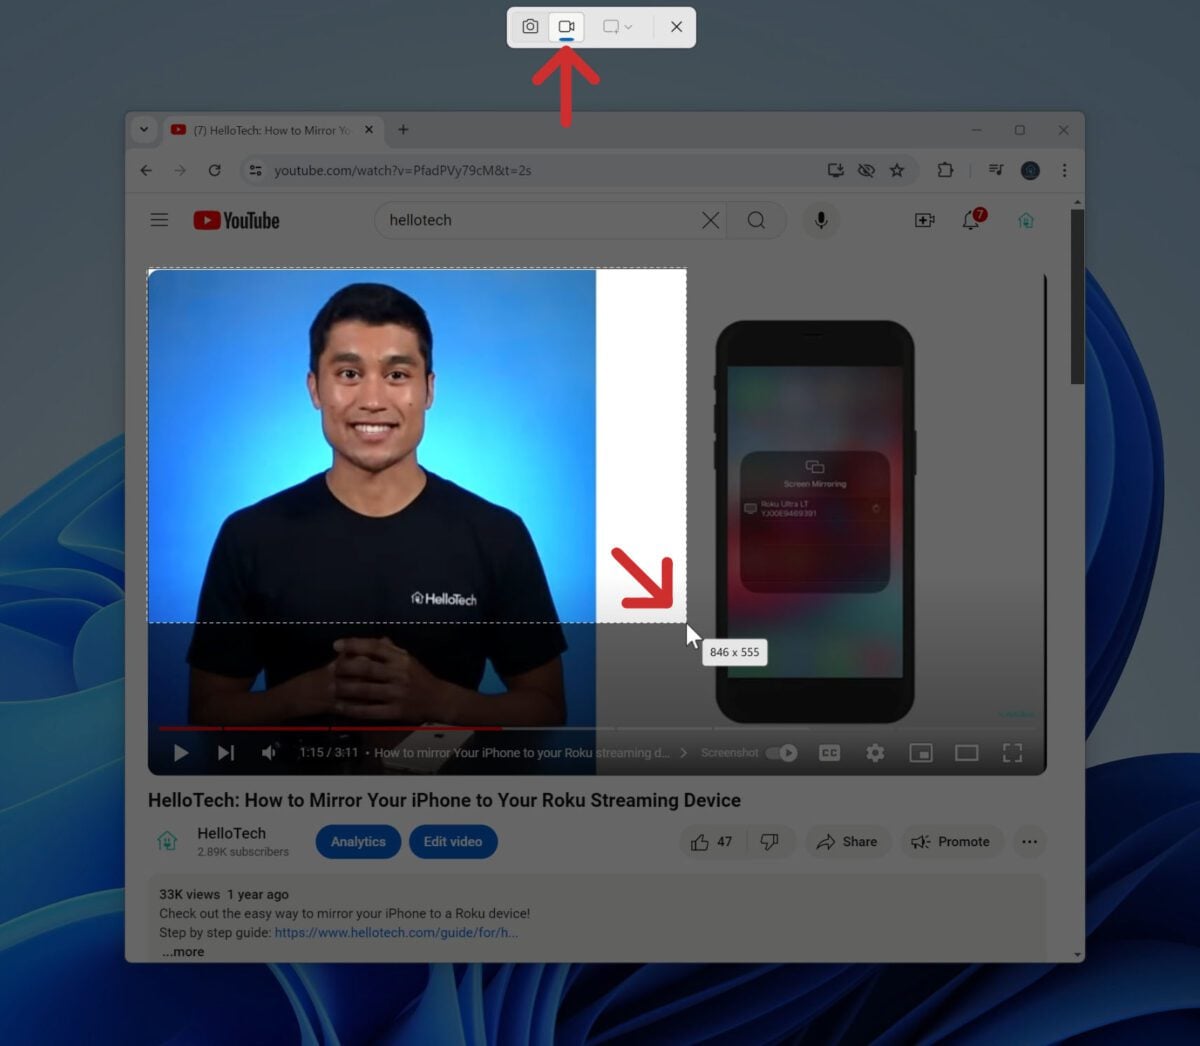
- Then, drag a box around the image you want to record. Simply hold left-click and drag your mouse around the area of your screen where you want to record.
- Next, adjust your recording area. After you draw a box around the area you want to record, you can make fine adjustments by clicking and dragging the edges.
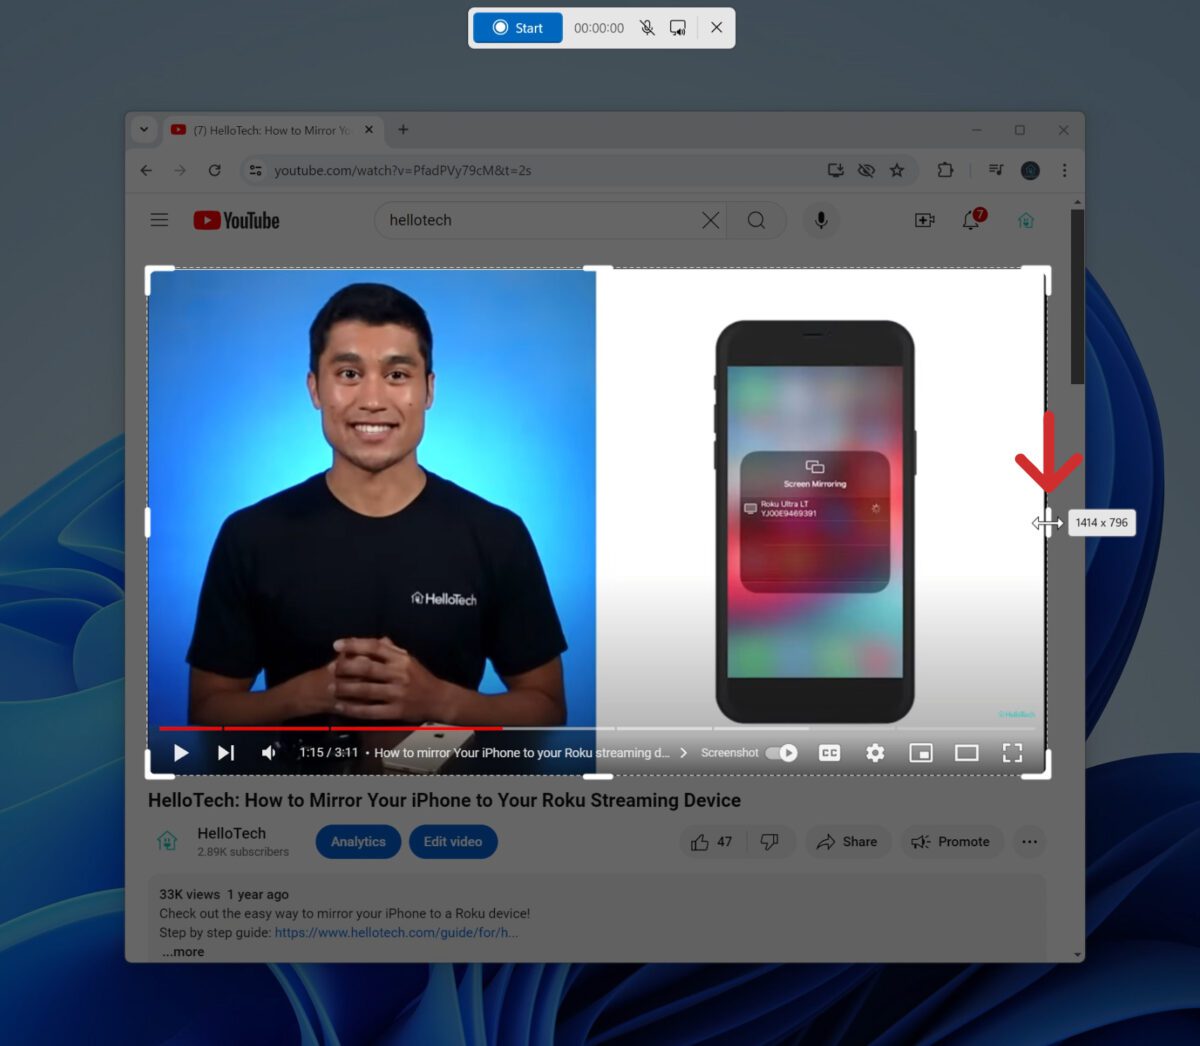
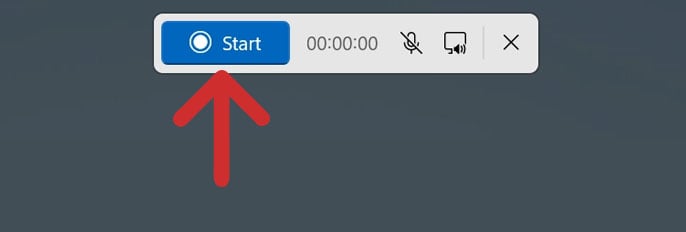
- Then, click Start in the top toolbar. The Snipping Tool will count down from 3 before recording the area you selected. Then, you can continue to use your computer as normal, but everything you do in that area of the screen will be recorded.
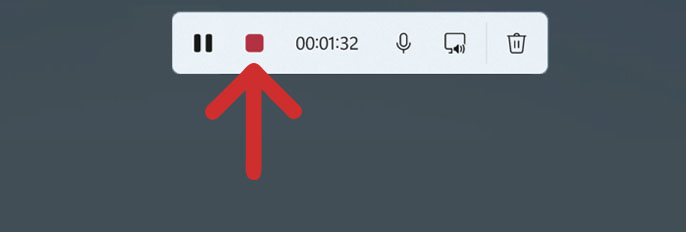
- Finally, click the red square in the toolbar to stop recording.
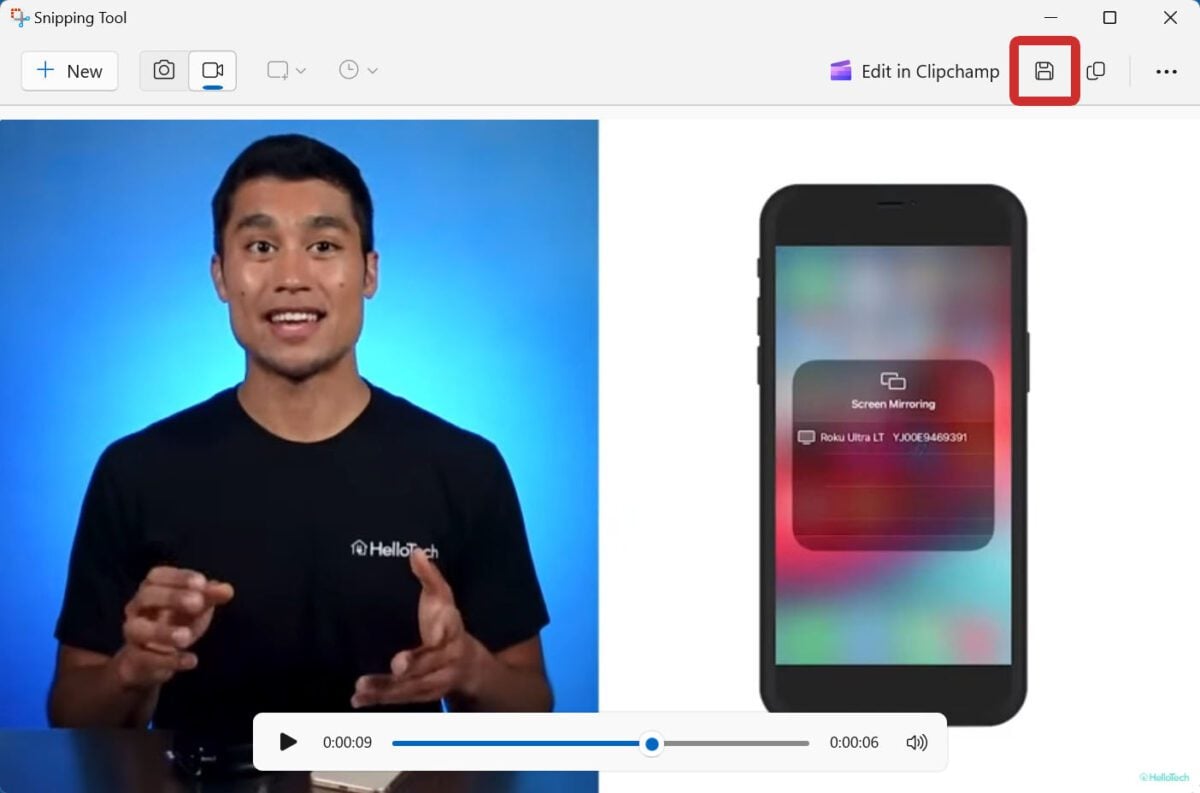
Once you stop the recording, the Snipping Tool window will pop up again with your video. You can use the play bar at the bottom to preview your clip, then you can click the floppy disk icon to save your video.
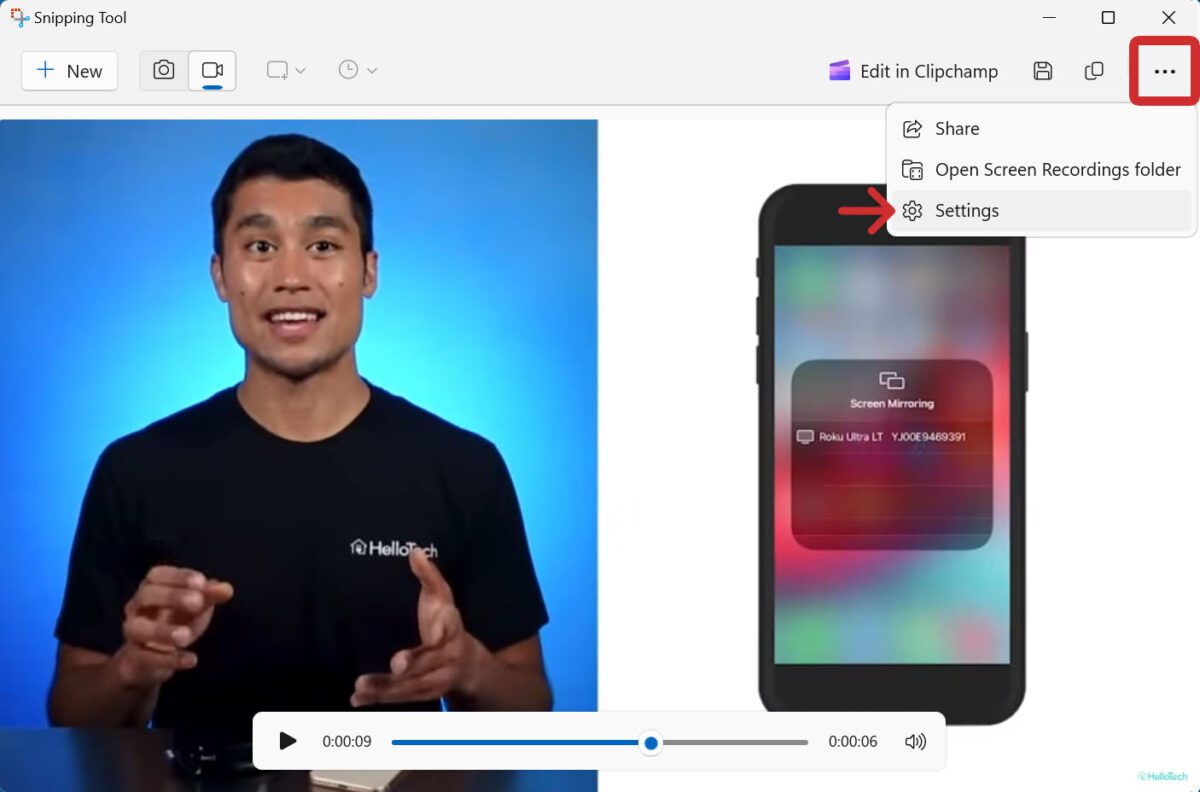
If you want to quickly find where your files are saved or change other settings, click the three-dot icon in the top-right corner of the window.
Read More: How to check your PC specs on Windows 11
How to Record a Window with the Xbox Game Bar
To record a window on your PC, open an app and select the window you want to record. Then, press the Windows + G keys on your keyboard. Next, click the record button in the Capture widget. When you are done recording, press the Stop button in the Capture Status window.
- Select the window you want to record. The Xbox Game Bar will record the entire window you have selected. So, you’ll want to open a window and resize it exactly how you want to record it. For example, if you are recording a video from your browser, you might want to make it full-screen before taking the next step.
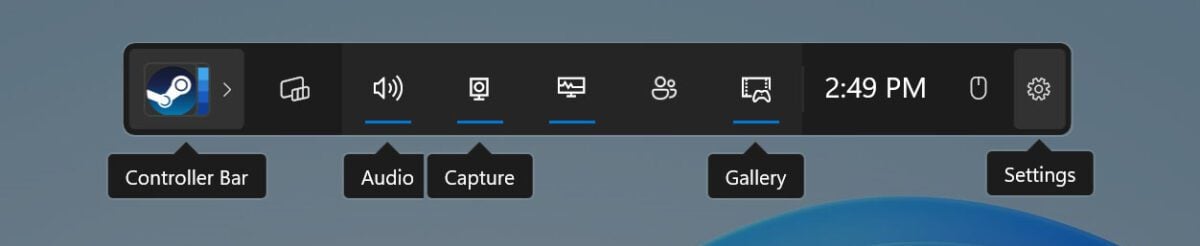
- Then, press the Windows + G keys. When you press these keys at the same time, the Xbox Game Bar will appear as a full-screen overlay. Alternatively, you can click the Windows logo at the bottom of your screen, type “Game Bar” into the search bar, and click Open.
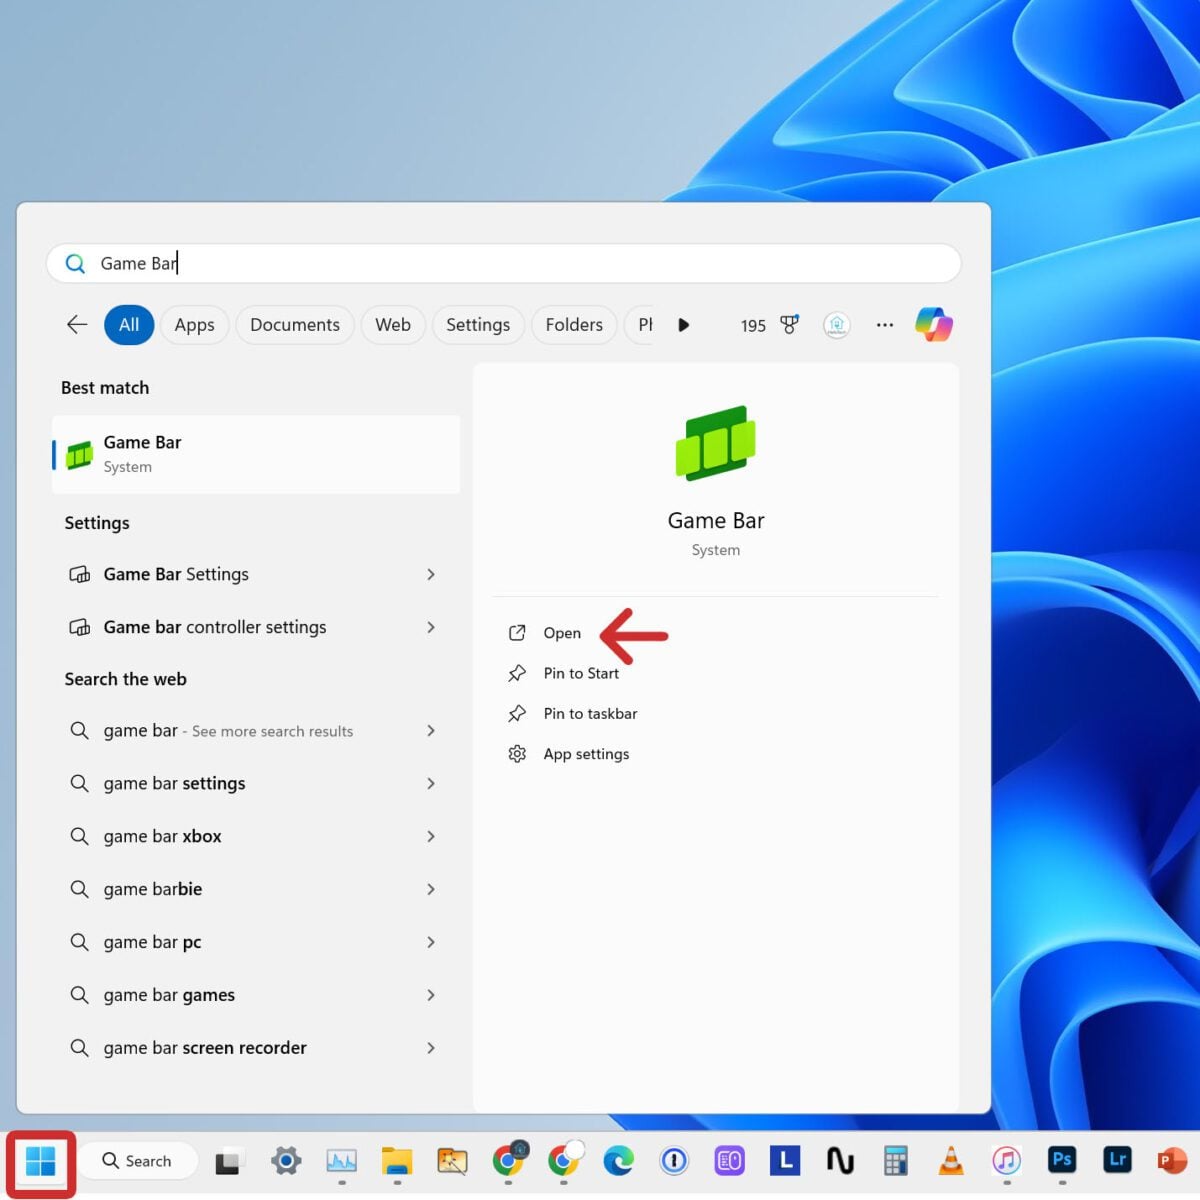
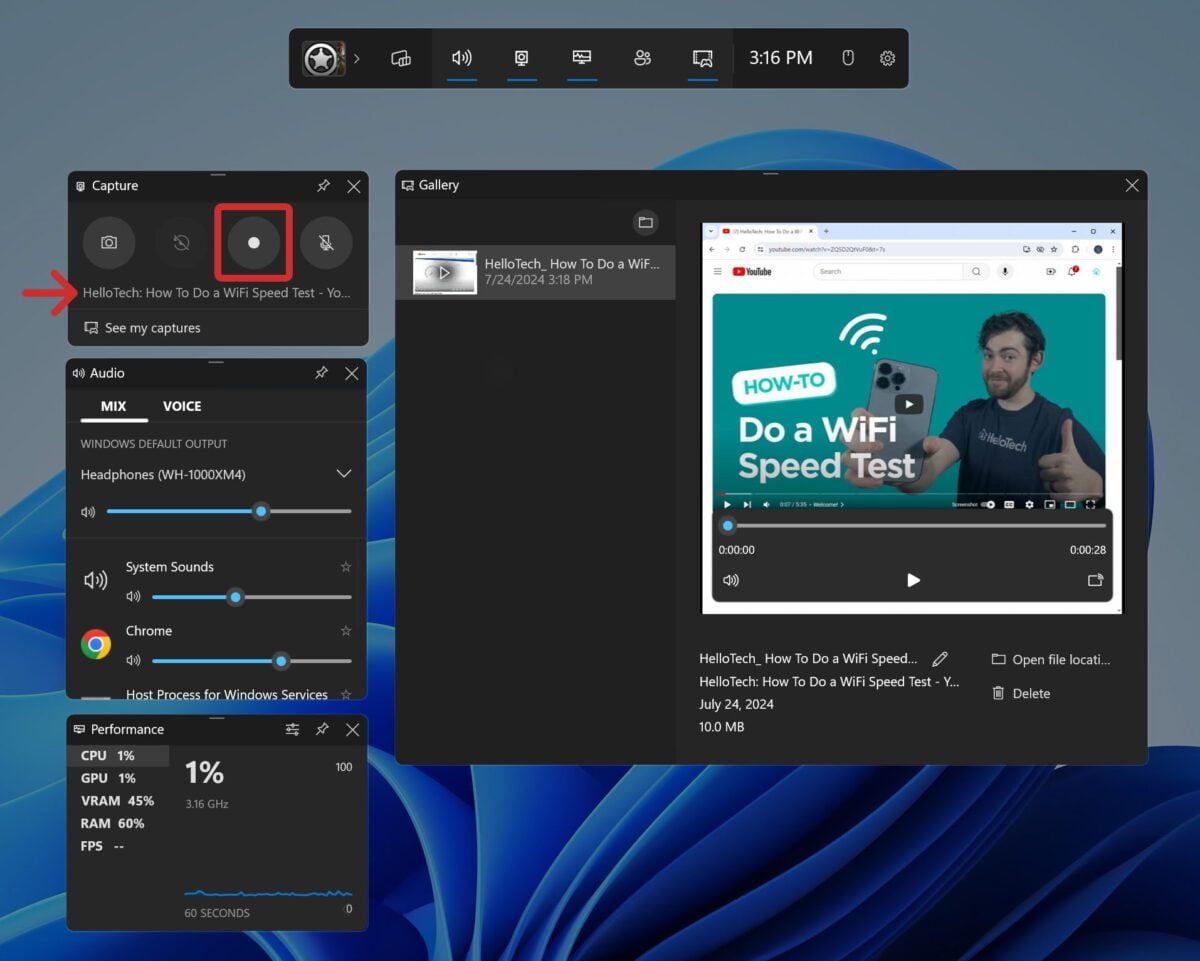
- Next, click the Record button. This is the circle button in the Capture window. By default, you will see this widget in the top-left corner of your screen, but you can re-arrange these widgets however you want.
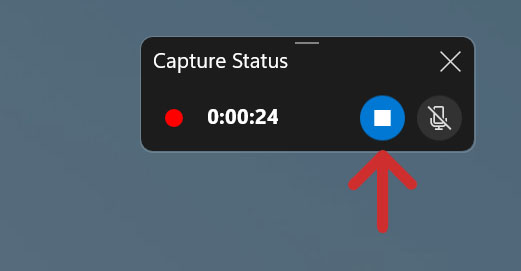
- Finally, when you are done recording, press the stop button in the Capture Status window.
Once you are done recording, the Game Bar will reappear, and you can review your video in the Gallery widget. Finally, you can click “Open file location” to view your recording or click “Delete” to remove it.

How to Record Your Screen with Third-Party Apps
If you don’t want to use the Snipping Tool or the Xbox Game Bar to record your screen, there are lots of third-party apps you can download. One of the most popular free options is called OBS. Once you download the app, click the plus sign under Sources, choose Display Capture, and click Start Recording.
- Download the OBS app. You can download the Windows 11 version for free here.
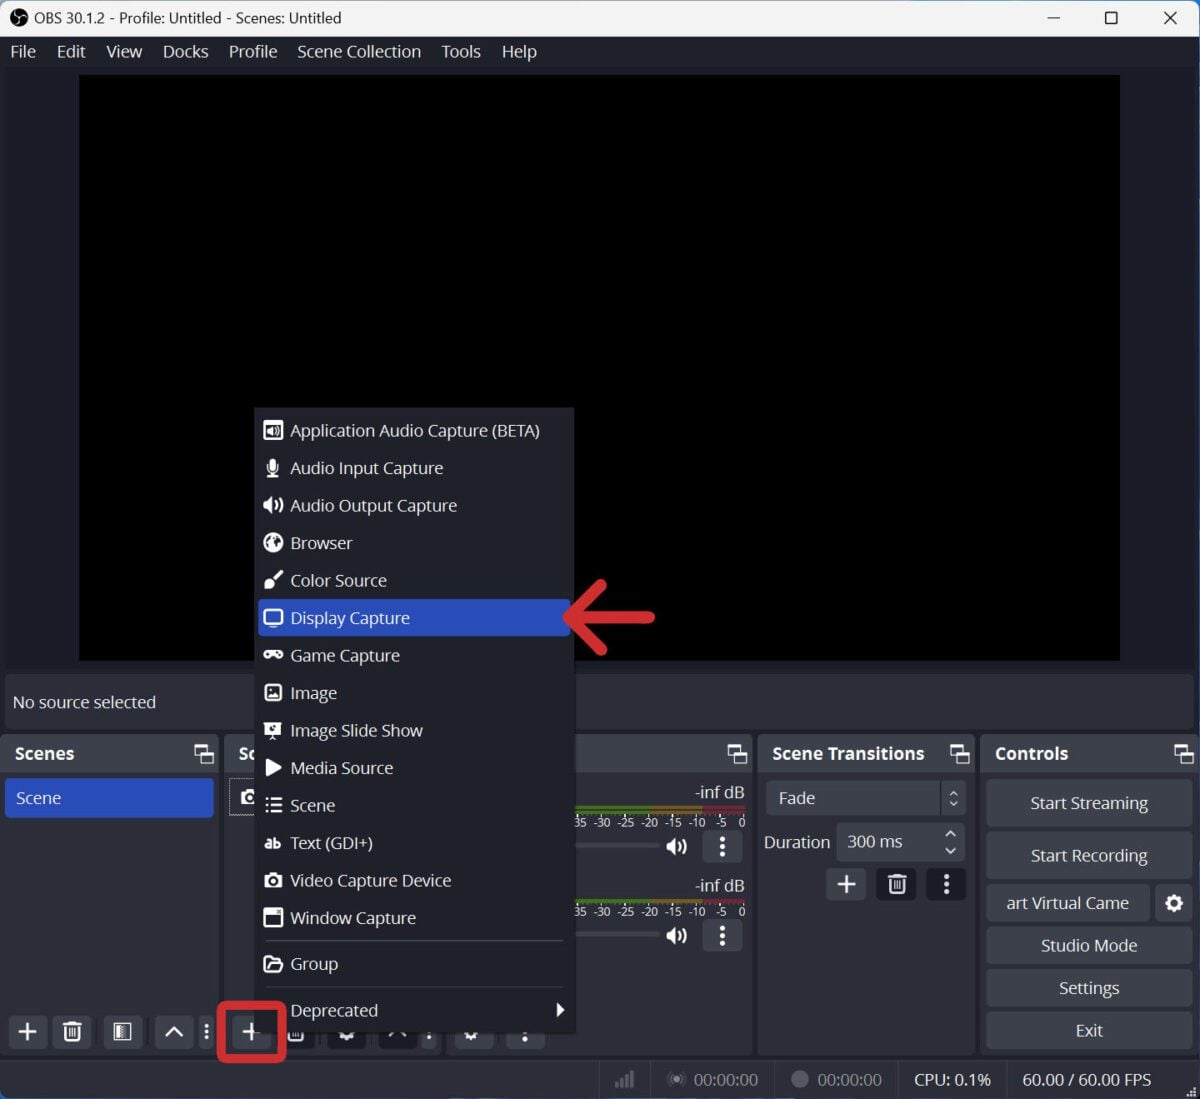
- Then, open the app and click the plus-sign icon under Sources.
- Next, select Display Capture. This option will let you record your entire screen, but there are lots of other options you can choose from.
- Then, select OK > OK. These steps will allow you to choose a name for your capture, choose a capture method, change your display, and capture your mouse cursor or not.
- Finally, click Start Recording.
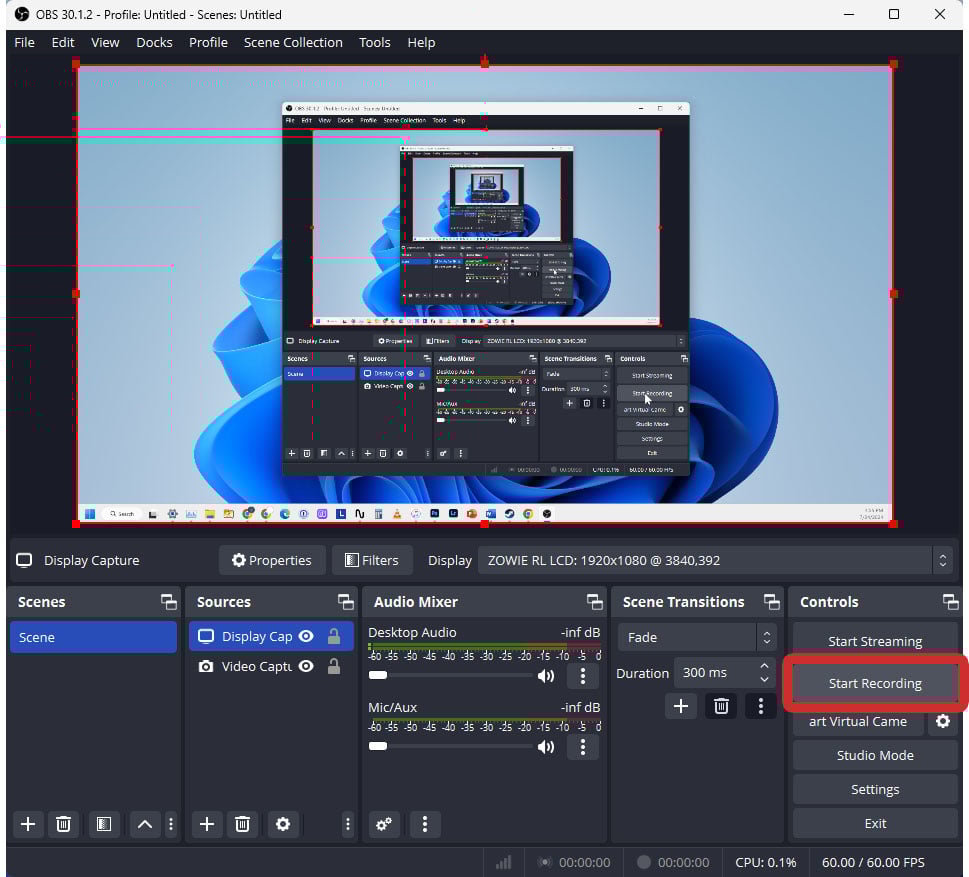
Once you are done recording, click the Stop Recording button in the same place. Then you can find your video under C:\Users\[USERNAME]\Videos.
Read More: How to cast a Windows 11 PC to your TV