Buy Directly from HelloTech and Save: Ring, Nest, Sonos, and More. Schedule Free Consultation.

How to Reset Your Apple TV Device & Remote

Whether your Apple TV device isn’t working properly, or you want to sell it or give it away, it’s important to know how to reset it to factory settings. Resetting your Apple TV device will erase all your personal settings, account information, and apps, so you can set it up from scratch. Here’s everything you need to know about how to reset your Apple TV streaming device and your remote to factory settings.

Read More: How to restart Apple TV

Note: If you don’t know which Apple TV model you have, check out this link.

How to Reset Apple TV (4K or HD Devices)

To reset your Apple TV device, press the Menu button on your remote until you see the home screen. Then, scroll down and select Settings > System > Reset. Finally, choose “Reset” to return your Apple TV device to factory settings, or “Reset and Update” to reset and install software updates.

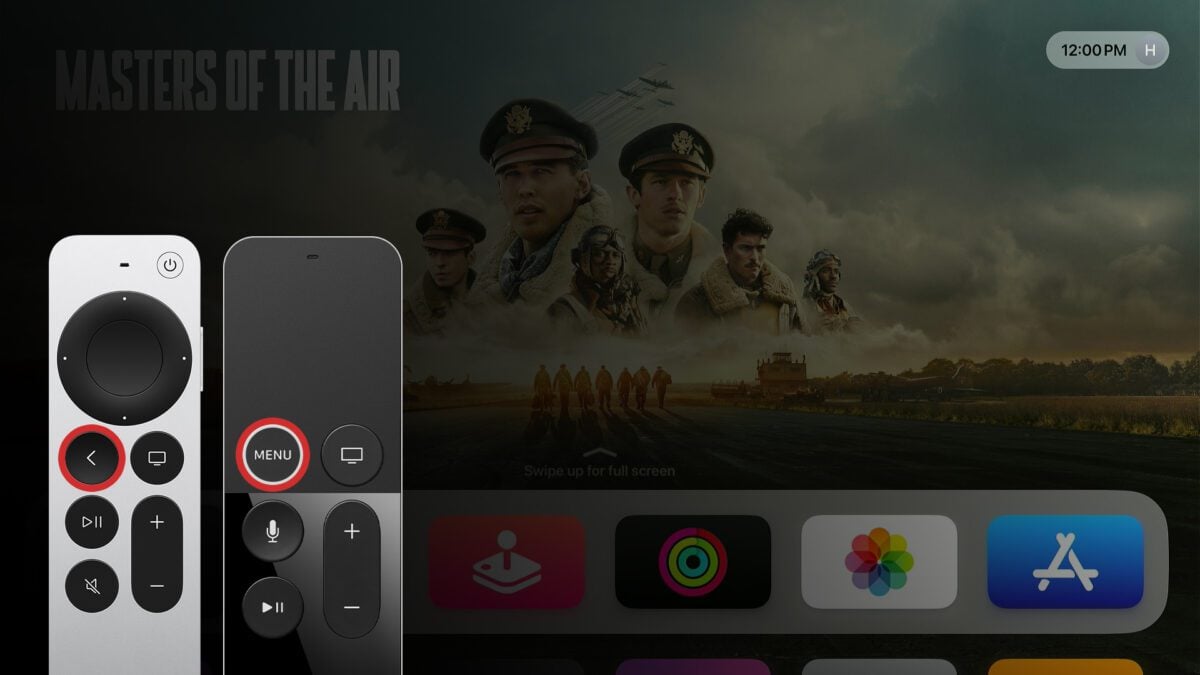
  1. Press the Menu or “<” button on your Apple TV remote.

    Note: Press this button until you see the Apple TV home screen. You might need to press it several times.

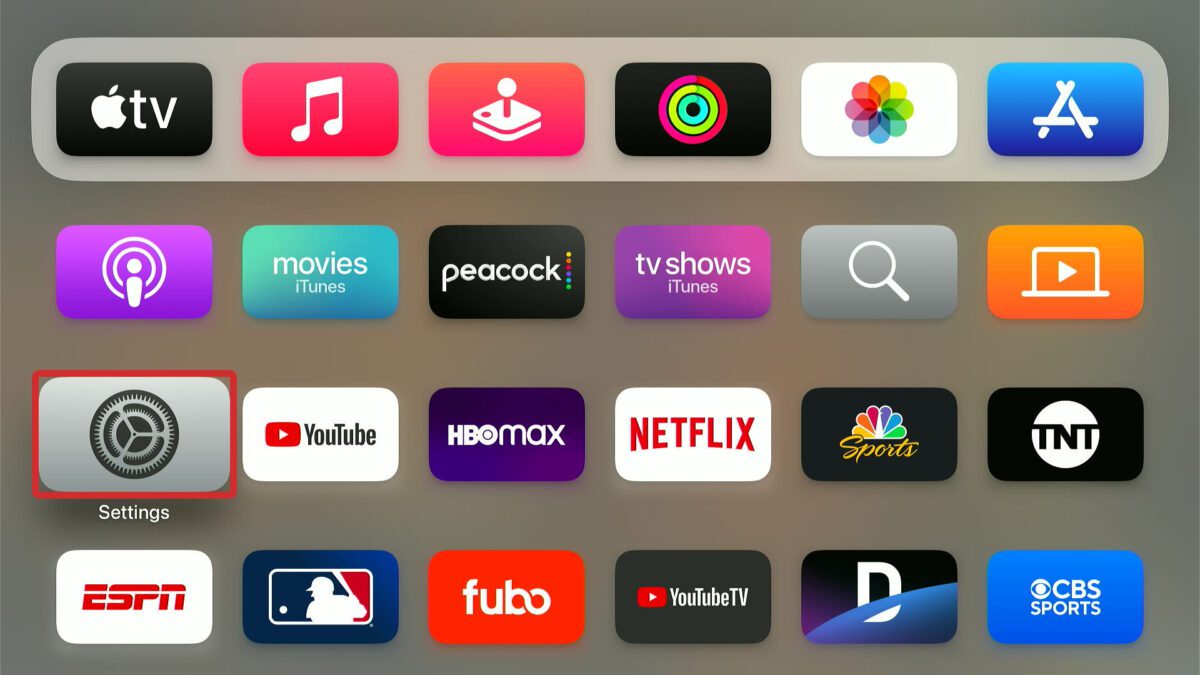
  2. Then, scroll down and select Settings. This is the app with a gear icon. If you can’t find it, you can always use the voice button on your remote. Simply press and hold the button with a microphone icon and say “Settings” out loud.  
  3. Next, go to System.
  4. Then, select Reset.
  5. Next, choose “Reset” or “Reset and Update. Both of these options will restore your Apple TV device to factory settings. You can select Reset even if you are not connected to WiFi. However, selecting Reset and Update will require your device to be connected to the internet. This option will install software updates, which will take longer.
  6. Finally, wait for your Apple TV device to restart. If you are looking to sell or give your Apple TV device away, you can simply unplug it once the restart process is complete.

Read More: How to turn off Apple TV

How to Reset Apple TV (3rd Gen or Older)

To reset a 3rd-generation Apple TV device or older model, press the Menu or “<” button on your remote. Then, go to Settings > General > Reset and select “Reset All Settings” if you don’t have WiFi or “Restore” if your device is connected to the internet. Finally, wait for your device to restart.

How to Reset Your Apple TV Remote

To reset your Apple TV remote, press and hold the “Control Center” button and the “Volume Down” button for 5 seconds. You should see a “Remote Disconnected” notification. Finally, wait 5-10 seconds or press the Menu button. You should see a “Remote Connected” notification once it has been reset.

  1. Press and hold the “Control Center” and “Volume Down” buttons on your Apple TV remote. The Control Center button is to the right of the Menu or “<” button. It has a TV icon.
  2. Hold both buttons for 5 seconds. You should see a “Remote Disconnected” notification in the top-right corner of your screen.
  3. Finally, release both buttons and wait 5-10 seconds. You should see a “Remote Connected” notification.

    Note: If your remote is not connecting, try pressing the Menu or “<” button after 10 seconds.

Read More: How to mirror iPhone to Apple TV

Recent Posts

How to Take Screenshot on Any iPhone

Learn how to take a screenshot on an iPhone X, and any other model of… Read More

5 months ago

How to Forget WiFi Network on a Mac

Learn how to forget a WiFi network on your Mac, so your computer won’t automatically… Read More

5 months ago

How to Set Up Guest WiFi Network

Learn how to set up a guest WiFi network for the next time you have… Read More

5 months ago

How to Record Your Screen on Windows 11 PC

Whether you want to record a video you found online or you need to show… Read More

5 months ago

How to Split Your Screen on Windows 10 PC

With a Windows 10 PC, you can easily fill your entire screen with two different… Read More

5 months ago

How to Connect Smart Plug to Alexa

Learn how to connect your smart plug to Alexa. Also, what a smart plug is… Read More

5 months ago

This website uses cookies.