In the past, you had to download third-party apps in order to record what was on your iPhone’s screen. But now, Apple has made it easy to save YouTube videos, save a clip of a game you’re playing, or teach your friends and family how to do anything on their iPhone. Here’s how to record everything on your iPhone screen and how to edit the video.
How to Screen Record on Your iPhone
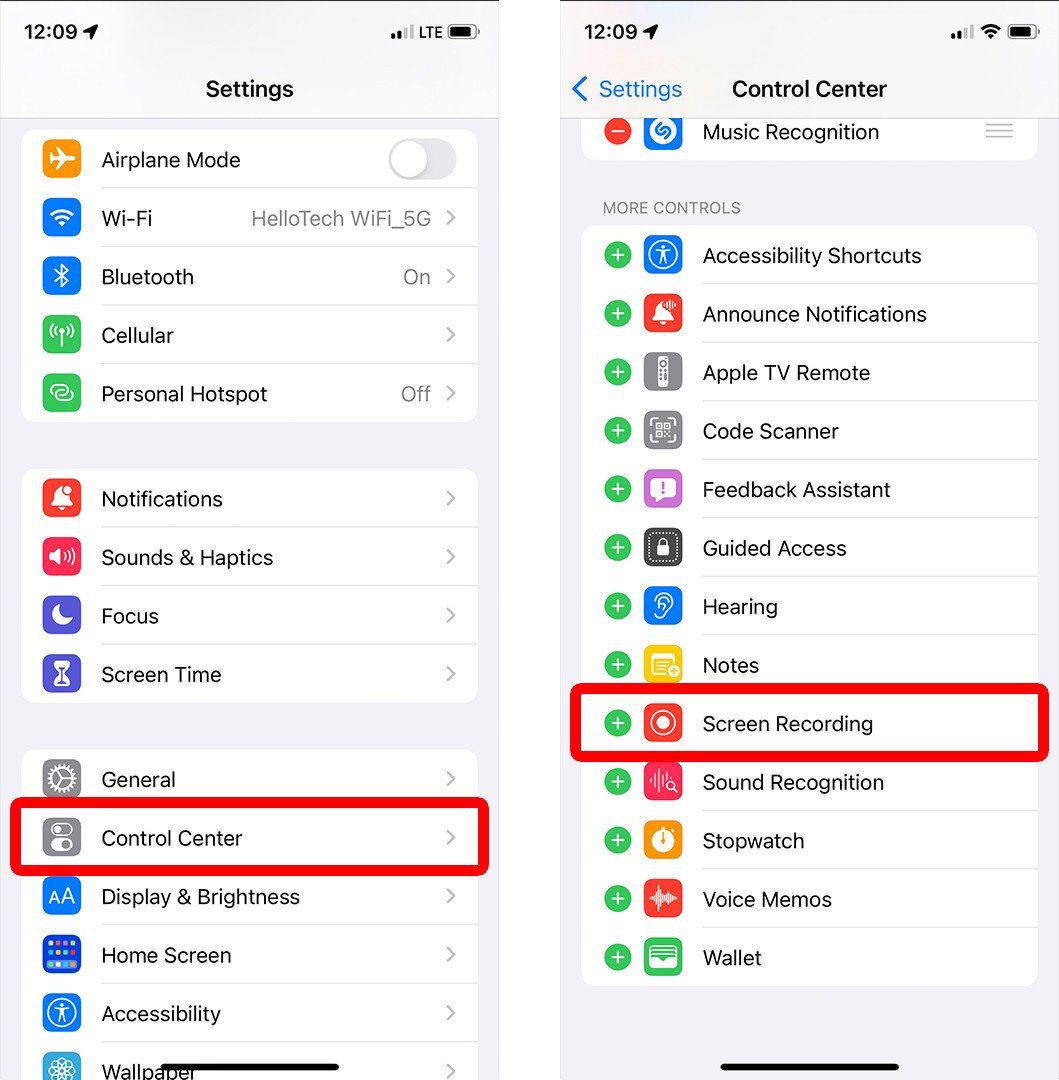
To record your screen on an iPhone, go to Settings > Control Center and tap the green plus sign next to Screen Recording. Then open the Control Center and tap the screen recording icon. Finally, select the red bar at the top of your screen to stop recording.
- Open the Settings app on your iPhone. If you don’t know where this app is, you can swipe down from the middle of your home screen and use the search bar to find it.
- Then scroll down and select Control Center.
- Next, tap the green plus icon next to Screen Recording. This will move the Screen Recording option up to the bottom of the list under Included Controls.
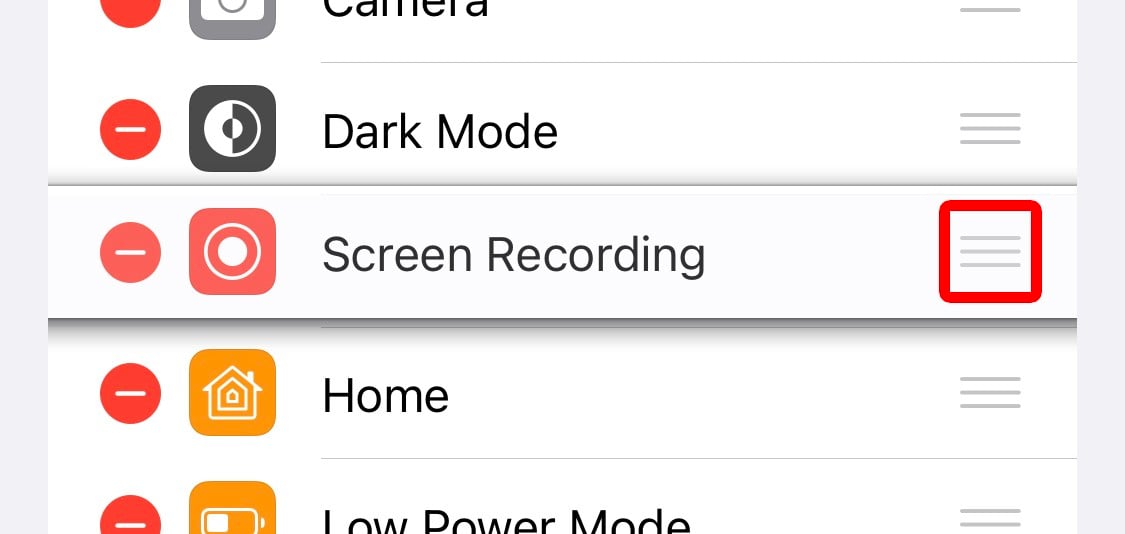
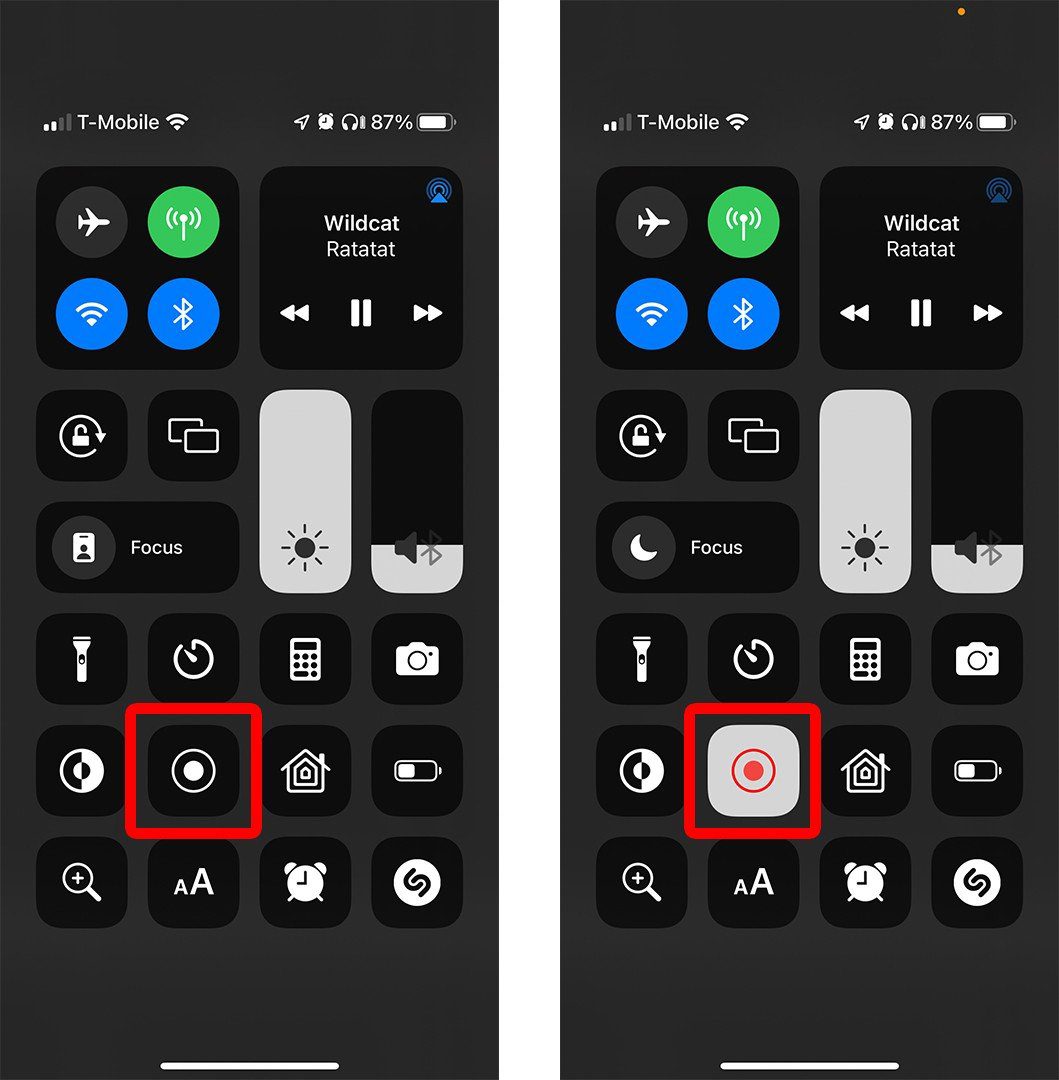
- Then open the Control Center. You can do this by swiping down from the top-right corner of your screen on an iPhone X or a newer model. If you have an older iPhone, you can open the Control Center by swiping up from the bottom of your screen.
- Next, tap the screen-recording icon. This is the icon of a big dot inside a circle. After you tap this icon, it will turn red, and your iPhone will start recording your screen after a three-second countdown.
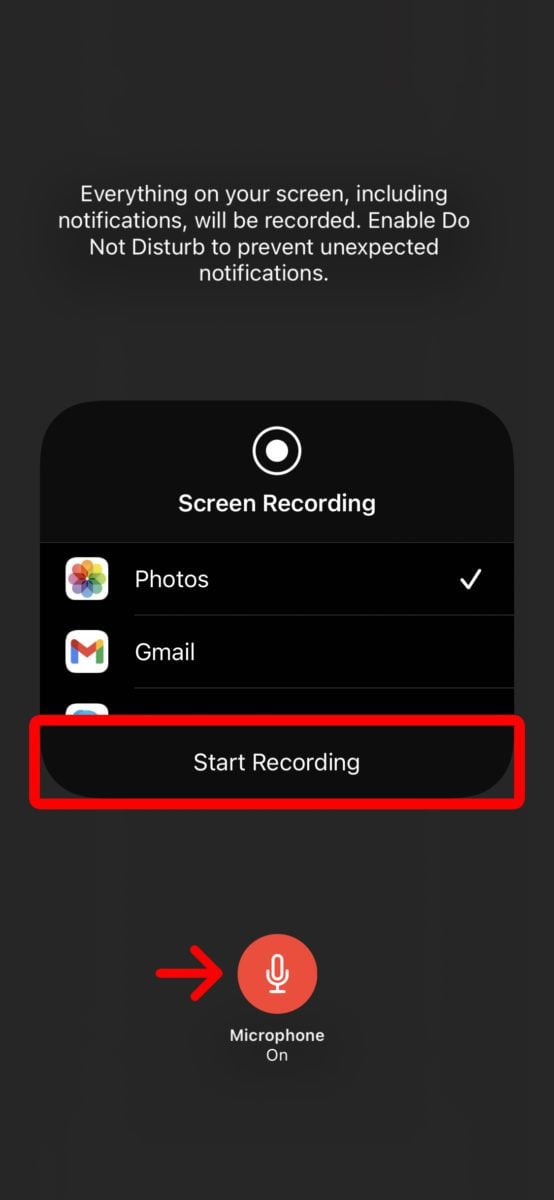
- Finally, tap the red bar at the top of your screen and select Stop Recording. You can also open the Control Center and tap the screen recording icon again.
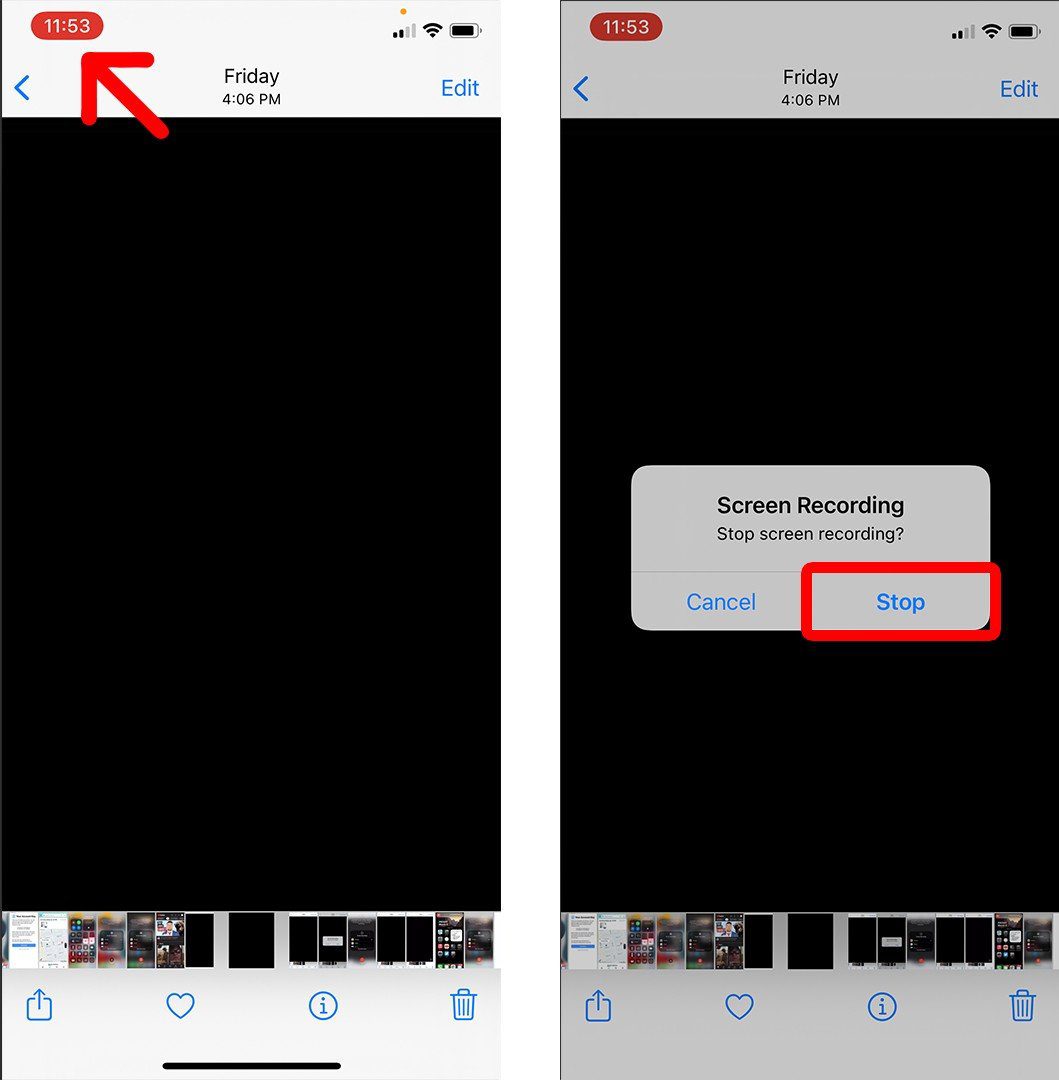
Once your video is processed, you will see a notification at the top of your screen that tells you where your screen recording was saved. You can tap this notification to quickly view your video.
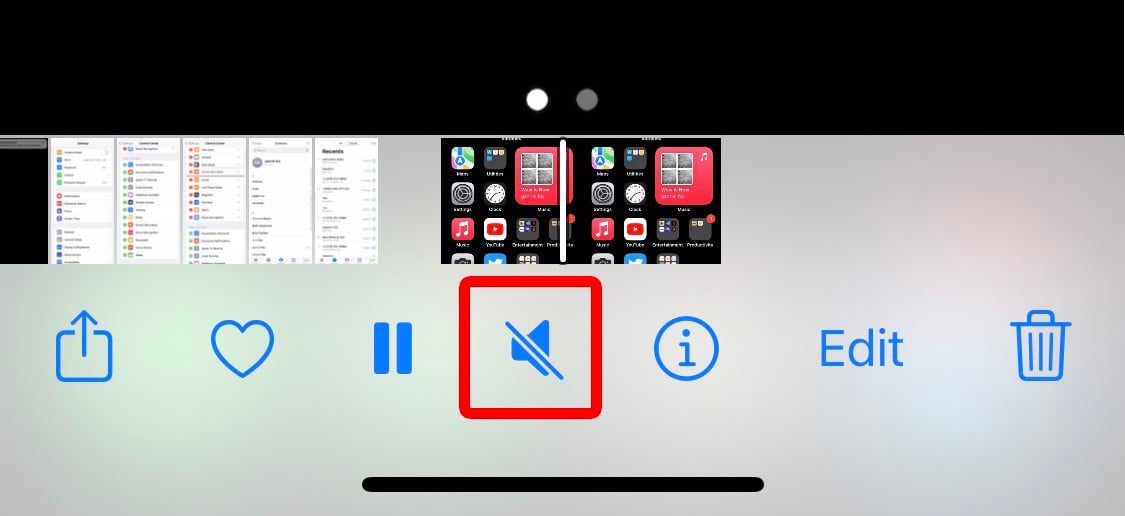
After viewing your video, you can easily edit it to trim the beginning or end, crop the image, add a filter, and more. Here’s how:
Read More: How to record your screen on a Mac computer
How to Edit Your Screen Recording on an iPhone
To edit a screen recording on your iPhone, open the Photos app and select your video. Then tap Edit in the top-right corner of your screen, and you will see different editing tools appear below the video. Once you’re done editing your video, tap Done to save your changes.
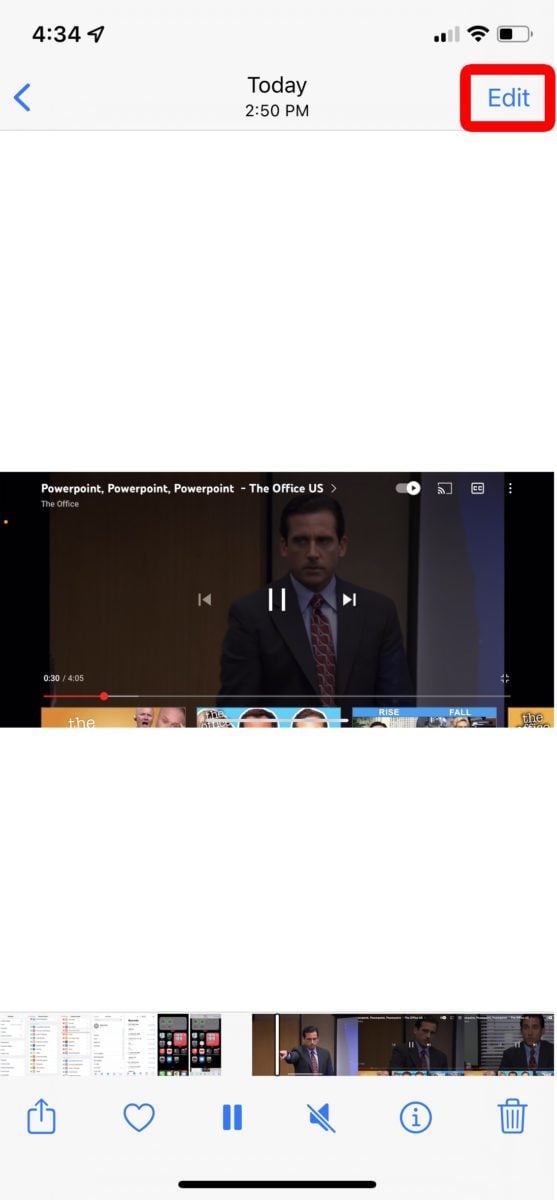
Here are all the editing options you can use on any videos saved on your Photos app:
How to Cut and Trim Video on iPhone
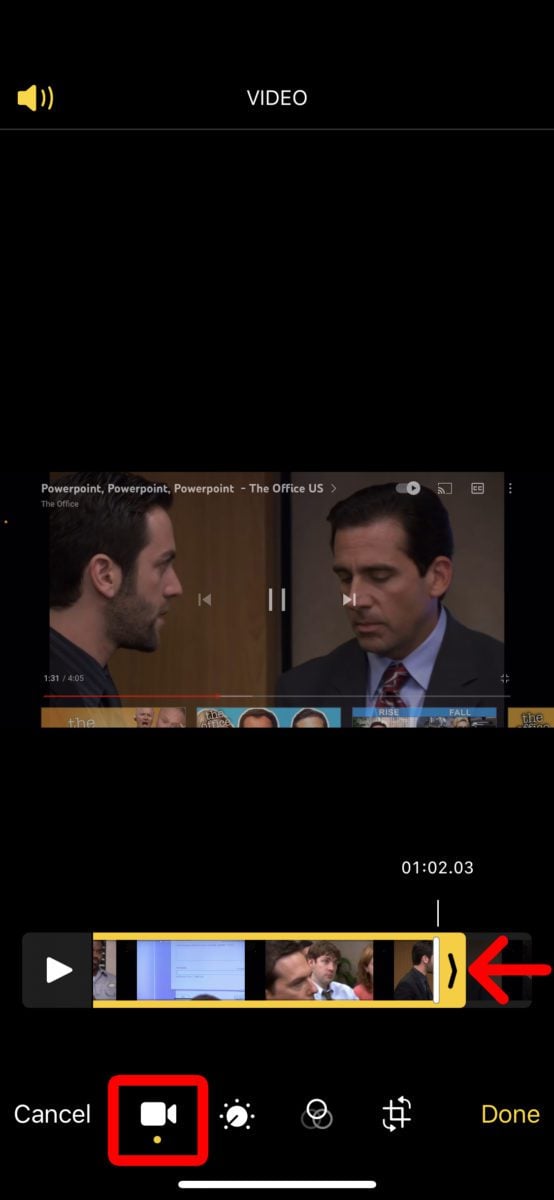
To cut or trim your video, tap the video camera icon. You can then tap and hold either end of the yellow box to trim the beginning or end of the video.
How to Edit Color and Lighting
To edit the color and lighting of your video, tap the icon that looks like a dial with dots surrounding it. From there, you can tap the different options to adjust the contrast, shadows, sharpness, brightness, and more.
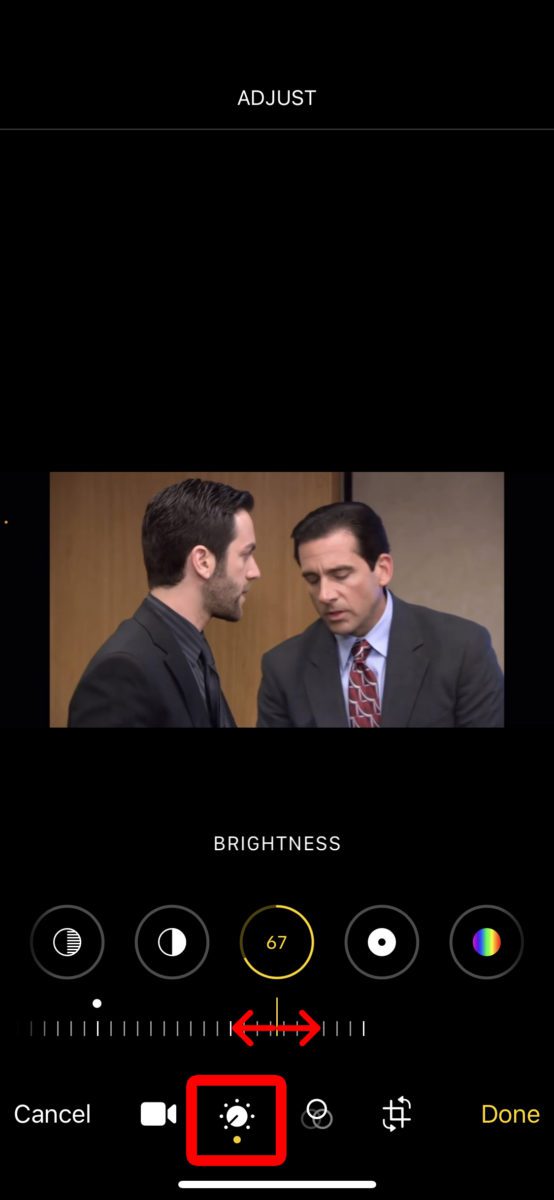
Once you select an option, you can swipe left and right on the scroll bar below to change each setting.
How to Add Filters
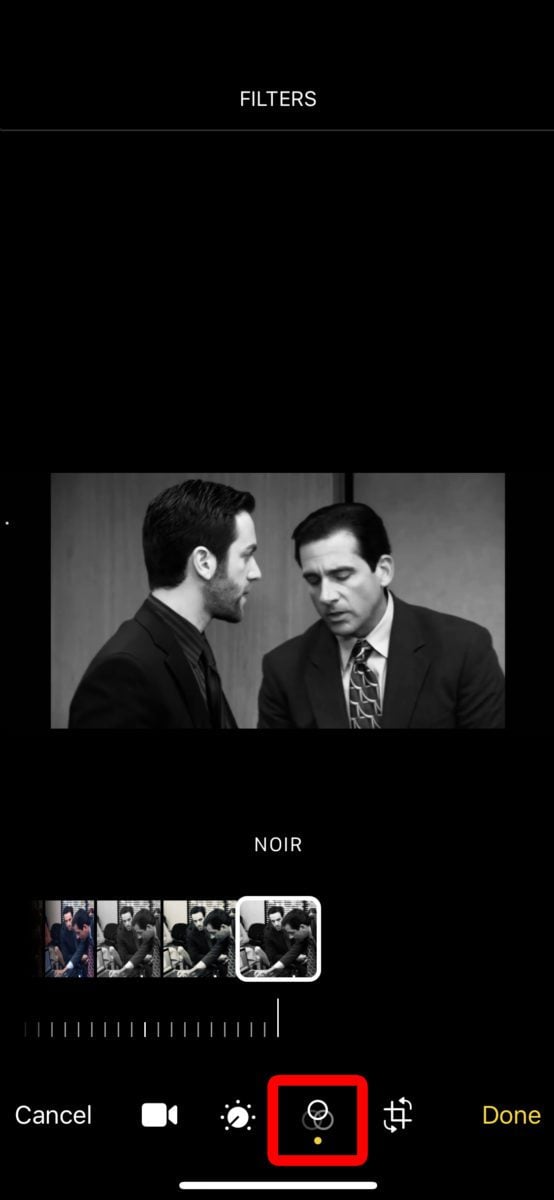
Just like with pictures, you can also add filters to your video to make them warmer, cooler, or turn them black and white. To do so, tap the icon with the three overlapping circles and choose one of the filters.
How to Crop a Video on iPhone
You can also crop a video to remove the unnecessary portions, like the black bars on the sides of a video. To do this, drag the wire box around the video to include the parts you want to keep. Everything outside this box will be cropped out.
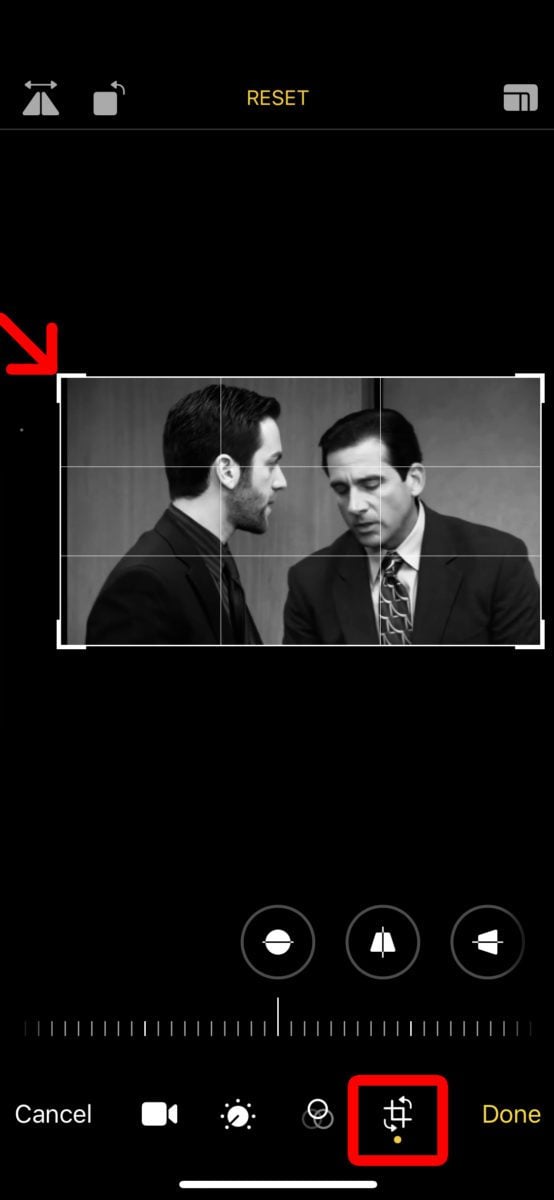
You can also use the buttons in the top-left corner to flip the video 90 degrees counter-clockwise or flip the video, so the left side of the image is on the right.
Once you are finished editing your screen recording, make sure to tap Done in the bottom-right corner. Then you can choose whether to save over the existing video or save a new version.
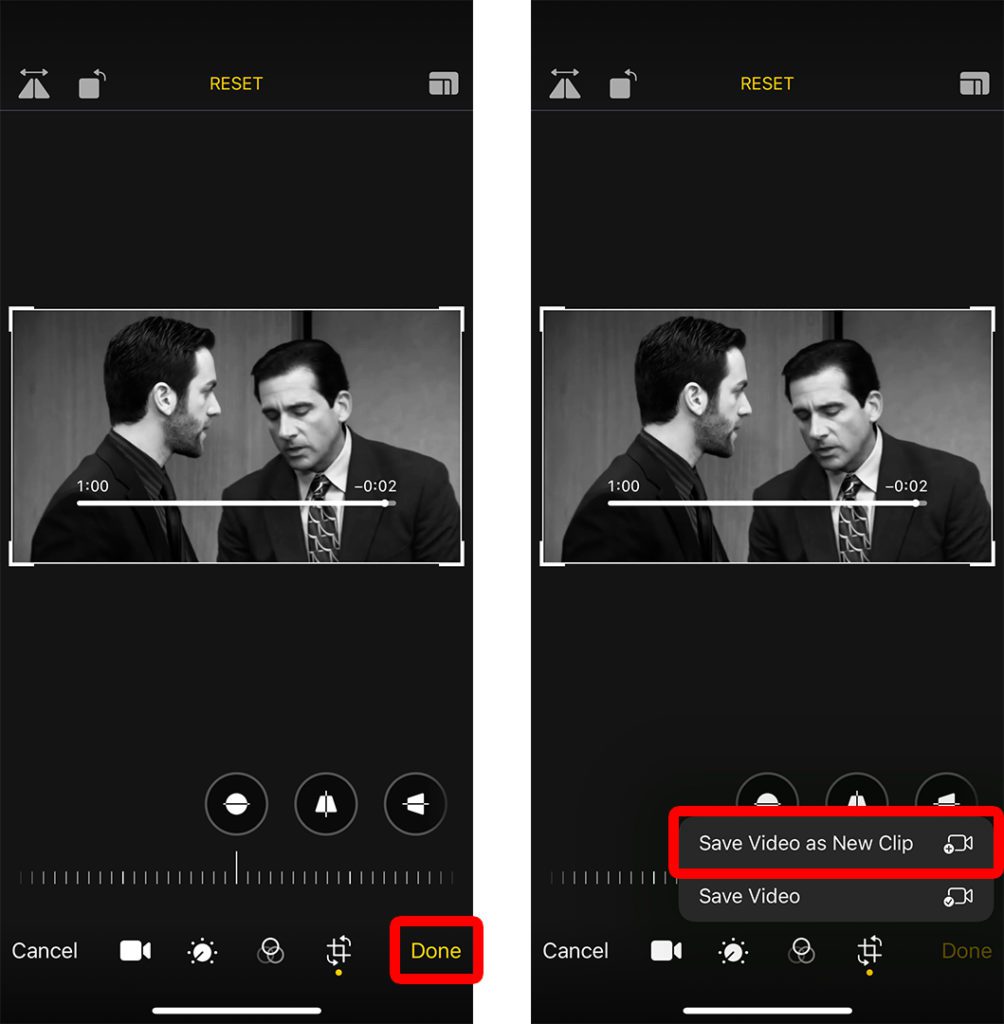
To be safe, we suggest saving a new video in case you want to re-edit it.
Read More: How to free up space on your iPhone
